
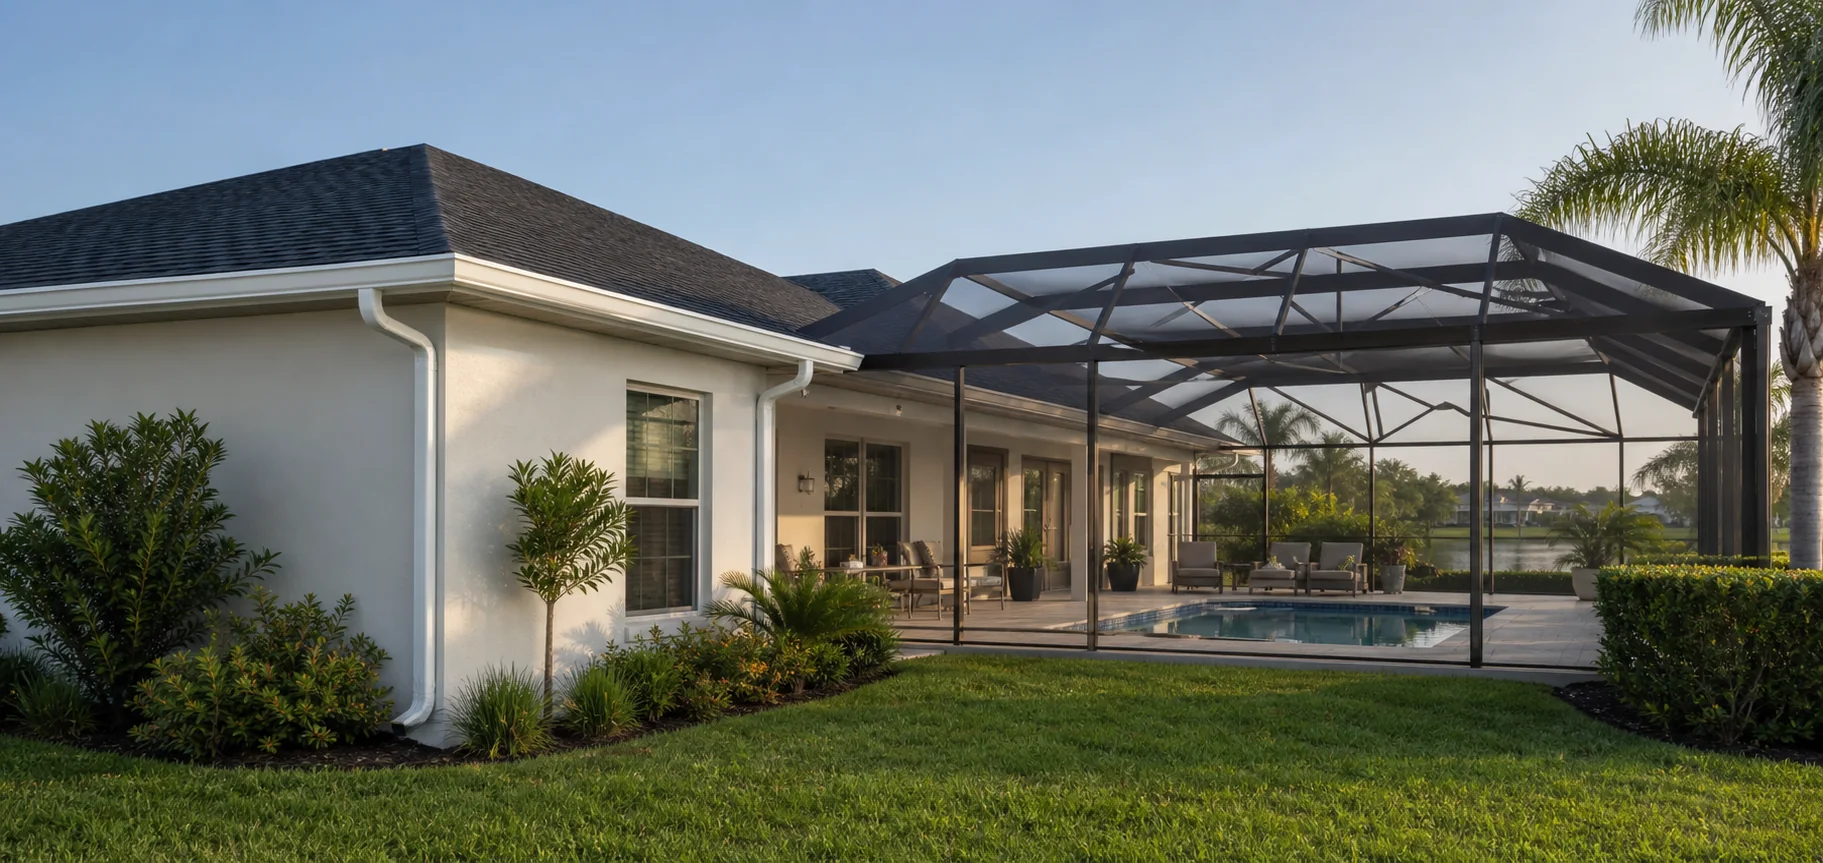
Roof drainage starts with a volume that is easy to underestimate. The U.S. Geological Survey reports that one inch of rain on a 40-by-70-foot roof—2,800 square feet—amounts to about 1,743 gallons. The U.S. Environmental Protection Agency uses a conversion coefficient of 0.623 gallon per square foot per inch of precipitation in its rainwater-collection method.
That conversion describes theoretical water falling on the horizontal collection area. It does not select a gutter profile, outlet, downspout count, fastening pattern, or discharge solution. Rainfall intensity, roof geometry, valleys, screens, obstructions, local requirements, and the receiving ground all affect a real design.
The basic runoff-volume formula
Horizontal roof area (square feet) × rainfall depth (inches) × 0.623 = theoretical gallons.
Use the building footprint or horizontal plan area draining to the gutter section—not the sloped surface area of the roofing. Divide a complex roof into drainage zones instead of multiplying the whole house by one number.
| Horizontal roof area | 1-inch rain | 2-inch rain | 3-inch rain |
|---|---|---|---|
| 1,000 sq. ft. | 623 gal. | 1,246 gal. | 1,869 gal. |
| 1,500 sq. ft. | 935 gal. | 1,869 gal. | 2,804 gal. |
| 2,000 sq. ft. | 1,246 gal. | 2,492 gal. | 3,738 gal. |
Rounded values are appropriate for this worksheet because the formula is a planning conversion, not a hydraulic design. Actual runoff reaching an outlet can differ because of losses, wind, overflow, roof absorption, and the timing and intensity of rainfall.
Build a drainage-zone worksheet
Create one row for every gutter run or roof area that drains toward a shared outlet. Give the zone a plain name that matches the property, such as “front garage,” “rear lanai valley,” or “west lower roof.”
- Horizontal length and depth: enough dimensions to estimate the plan area feeding the zone.
- Upper-roof contribution: note any downspout or roof plane that discharges onto a lower roof.
- Valleys and inside corners: mark concentrated flow locations rather than averaging them across the run.
- Existing outlets: record outlet and downspout locations, visible restrictions, and where each downspout ends.
- Receiving surface: note soil, mulch, paving, a drain connection, a slope, or an area already showing erosion or ponding.
- Observed evidence: photograph staining, splash marks, washed mulch, overflow paths, loose fasteners, or wet fascia.
Run three scenarios without calling them design storms
Calculate one, two, and three inches for each zone. These are transparent comparison scenarios, not a claim about code rainfall, storm duration, or local design criteria. The exercise shows scale: doubling rainfall doubles volume, and combining an upper roof with a lower roof can change which section deserves the closest review.
Volume also says nothing about rate. The same two inches delivered slowly over many hours and in a short downpour produce the same total gallons but very different peak flow. A qualified installer must consider how quickly water arrives, how the roof concentrates it, and how the selected components are intended to perform.
Map the complete path: roof to outlet to ground
A worksheet is incomplete if it stops at the gutter. For every downspout, draw or photograph the final discharge path. Look for entrances, pool decks, driveways, planting beds, neighboring property, low spots, and foundation-adjacent areas. Gutters can move a roof problem to the ground if the outlet has nowhere appropriate to send the water.
Do not assume that a longer extension, underground pipe, rain garden, or connection is suitable without checking property conditions and the applicable professional or public requirements. The EPA's National Stormwater Calculator and extension resources can help explain stormwater concepts, but a property-specific drainage solution may need a different trade or design professional.
Use the worksheet during an estimate
- Walk each drainage zone and confirm the measured plan area.
- Point out every valley, upper-roof discharge, long run, and inside corner.
- Compare outlet options and the path beyond each downspout.
- Identify fascia, soffit, roofing, grading, or underground-drainage questions that fall outside the proposed gutter scope.
- Ask the written estimate to name included runs, profiles, outlets, downspouts, extensions, removal, repairs, and exclusions.
Bring the completed worksheet to your estimate so CamoKrew can see which roof areas, valleys, outlets, and ground conditions concern you. The measurements create a useful starting point; an on-site review is still needed to match the options to the actual roofline.
Helpful public references
- U.S. Geological Survey: Rain and Precipitation — roof and land-area rainfall-volume examples.
- U.S. EPA NEWR Calculator methods — the 0.623 gallon-per-square-foot-per-inch conversion coefficient.
- U.S. EPA National Stormwater Calculator — site runoff and green-infrastructure planning context.